| Panel | ||
|---|---|---|
| ||
|
This guide is a quick start companion to the Image Submitter Site User's Guide.
| Info |
|---|
Although the examples in this guide are from a Windows computer, the steps are similar for other operating systems. |
...
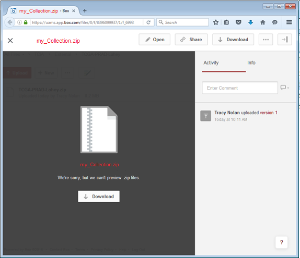
- You will receive an email inviting you to download a zip file from the Washington University Dropbox service. Here is an . An example of the email . Simply click follows.

- Click the link to start the download process.
- Click the zip file name to begin the download.
- The page may read " We're sorry, we can't preview .zip files" that's fine, click the download button as shown:
- What you download is compressed. Right click (or apple-click) to choose “Extract” or “Unzip” the downloaded file Extract files to a folder where you have write access. You You might want to create a folder on in the root directory, i.e. ‘C:\CTP’.There will be two folders created. CTP contains the anonymization software.
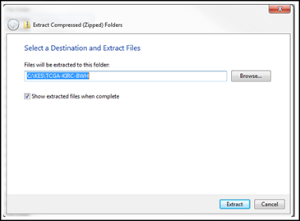
Two folders are created. FileSender contains a way to transmit queue DICOM files internally to CTP. CTP contains the anonymization and transmit-to-TCIA software.
Step 2 – Create a mapping table between your patient IDs (probably MRN numbers) and the TCIA IDs
| Note |
|---|
For TCGA cases, it is EXTREMELY important that the mapping is done correctly as these TCGA IDs will be the only link between imaging and tissue samples in the TCGA NCI Genomic Data Commons portal. Other Collections with supporting information will also need someone to confirm that dates, File IDs, and PatIDs will be resolved across information types (for example, segmentations, xml, clinical spreadsheets, protein data, histopathology). |
- Navigate to the …/CTP/scripts folder and open the file XXX.ID-LOOKUP.properties file (where XXX represents a name unique to your site) using a plain text editor such as NotePad or WordPad. Please do not use Microsoft Word as that will put in special characters. Example shown below has a lookup table file named
TCGA-KIRC-BWH.ID-LOOKUP.properties.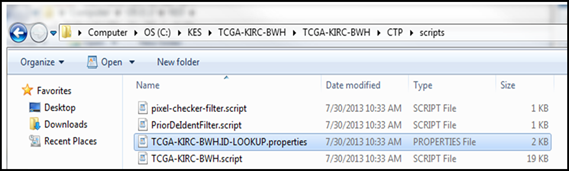
- Complete the Mapping by editing the file you just opened.
- Replace the “Your Patient ID” with the MRN that was assigned to the TCIA ID shown on the right side of the equal sign. An example is shown on the top line. In this fictional case we assigned MRN “01” to TCGA ID TCGA-CZ-9999. If this is not a TCGA collection, then there may be no assigned IDs on the right and you would create your own using the agreed upon naming convention. It is important to use the ptid/ as that is the key to the lookup table.
- For TCGA collections, the pre-populated TCGA IDs represent the possible cases to send. You may not have imaging for all of them.
- Once the mapping is completed, save the file.

Step 3 – Launch CTP
- Double-click the
Launcher.jarfile in the CTP folder.
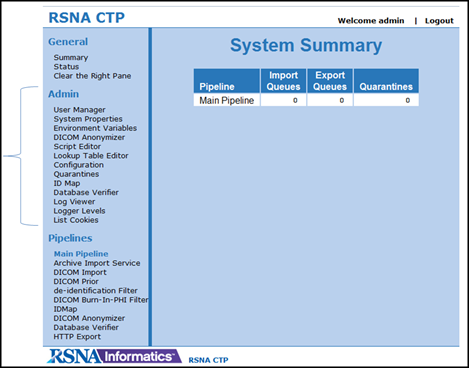
A window opens. Click Start and then click the CTP Home Page button when it becomes active. (Note that the Stop button shuts down CTP.)
- Log into CTP (not always necessary but opens up more views) with Username
adminand Passwordpassword.
- Logging in enables Admin functions.
Step 4 – Sending Images
...
- To use FileSender, open the FileSender folder and double-click
FileSender.jarwhich will open a popup window..
A window appears.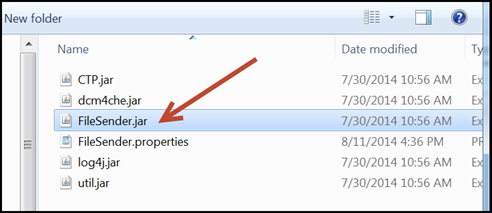
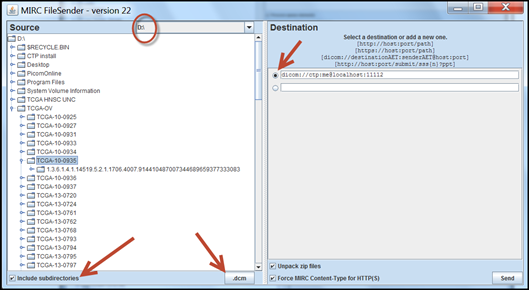
- Click the radio button in the destination panel. The line shown is configured to send to CTP on the local computer through port 11112.
A check box at the bottom left can be selected if the DICOM data is in a folder hierarchy - At the lower right of the Source panel is a box that has an *. That just means send all any files. If your images all have extensions of .dcm, you could click the * and change it to .dcm. Only DICOM files will be transmitted, other files will throw an exception.
- Select the directory to the left that has the files you want to send and then click Send.
- Monitor the submission process from the Status link on the RSNA CTP homepage.
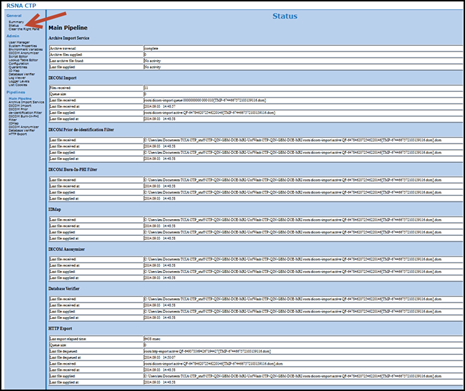
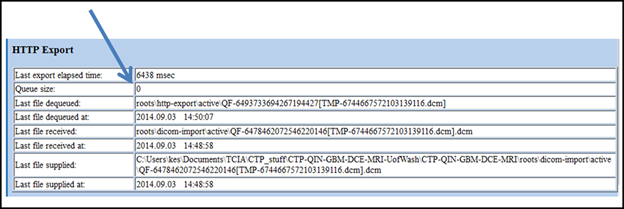
Make sure the last stage “HTTP Export”
quequeue is empty before stopping CTP.
(Note that
queInfo Although the import
butqueue will be empty much sooner,
)keep CTP running
.
Step 5 – Checking for Sending Errors
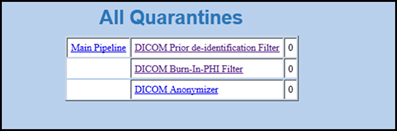
- After the images have been sent, check the quarantines page to see if any images went to quarantine.
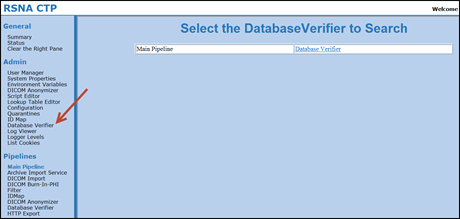
- You can also click on the database verifier link to compare what is in the database compared to what you sent.
- At the end of your submission, we will provide you with a list of subjects received along with the number of images for each. We will ask you to confirm that is the number sent.
...
- .