TCIA Data Retriever – Public Beta
As of March 2026, TCIA is in the process of a major infrastructure update. We will be deprecating our NBIA software for managing DICOM datasets over the coming year. Open-access DICOM datasets will be published in partnership with the NCI Imaging Data Commons. Datasets which require any sort of data usage agreement will be published in partnership with other components of the NCI's Cancer Research Data Commons (CRDC) to ensure compliance with NIH Controlled Access Data Repository policies.
To ensure a seamless download experience, we have created a new TCIA Data Retriever application which will download our datasets regardless of where they reside. This tool works with all legacy NBIA manifests (.tcia), as well as manifests created by the new CRDC systems (.csv, .s5cmd) that host the data. Please submit any feedback about this new application to our helpdesk.
We will be deploying frequent updates until the beta closes and we reach a stable official release! If you want to use the legacy tool, which is much more stable, please skip this section and follow the instructions below.
Installing TCIA Data Retriever
Download and install the latest build for your operating system:
Using TCIA Data Retriever
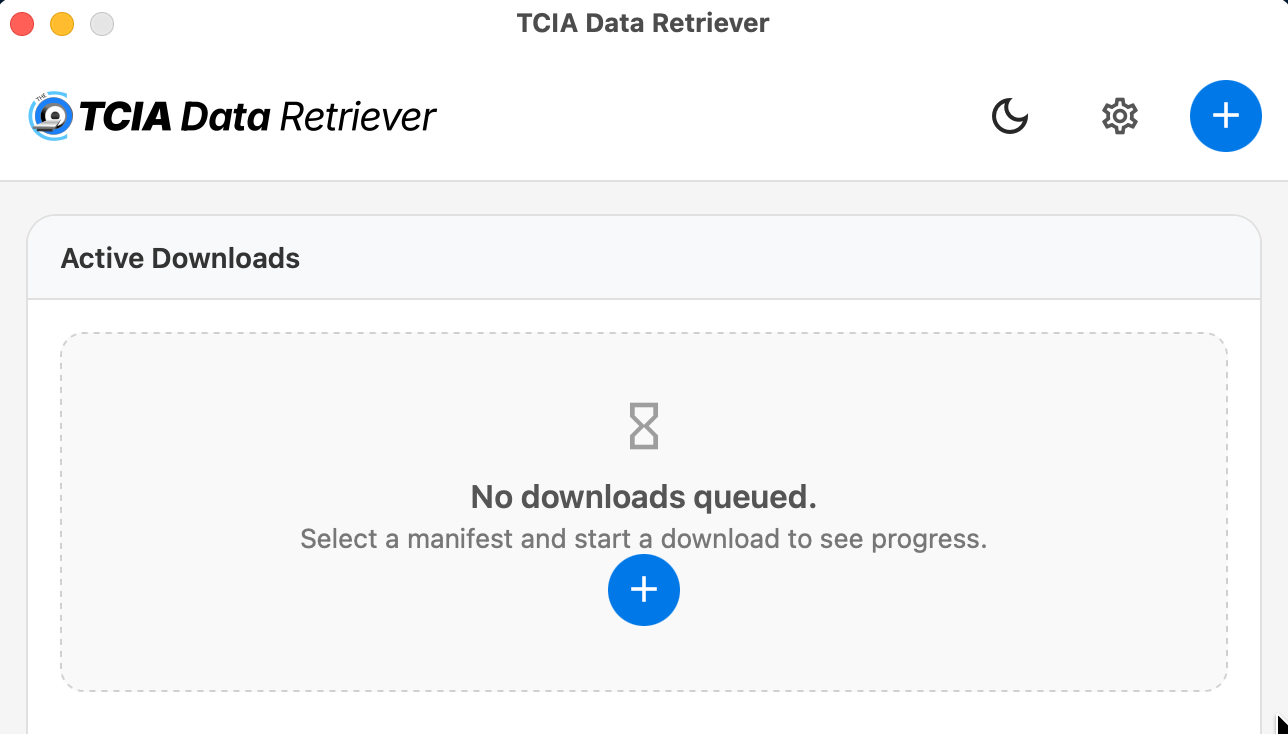
This application is designed to consume "manifests" which contain a list of the data records that are part of a dataset. Manifests related to each dataset can be found in the Data Access section of their description pages, or custom manifests can be created using the various search portals. To begin, click the "+" sign to open a manifest you've saved to your computer:
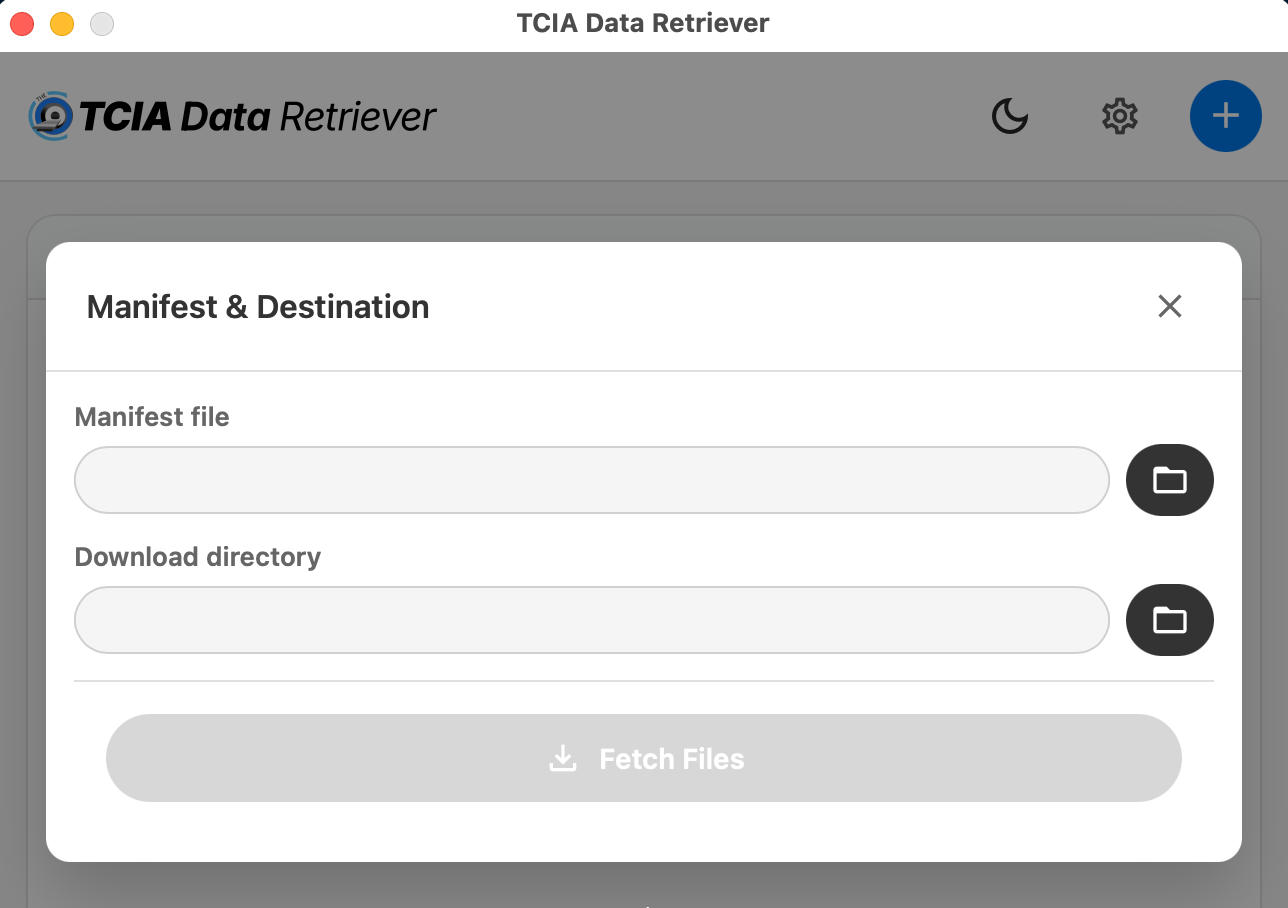
Then select the location of the manifest you want to download, specify where you want to save the data, and click "Fetch Files":
Additional documentation can be found on https://github.com/TCIA/data-retriever.
Legacy NBIA Software Instructions
The instructions below pertain to accessing and downloading data from our NBIA legacy system.
Downloading the NBIA Data Retriever
The most convenient method of downloading them is by using the NBIA Data Retriever. You must install the NBIA Data Retriever before you begin downloading. You only have to install it once to use it in future downloading sessions.
If you are using Linux, you can access NBIA Data Retriever's command-line interface, which does not require the desktop environment.
Consult the NBIA Data Retriever FAQ for more information about NBIA Data Retriever versions and usage.
Linux Installation Instructions
RPM (tested on Fedora 40 Workstation, OEL 9.4)
To run this file, type the following at the command prompt (only run the first command if you need to uninstall a previous version).
sudo yum -v -y remove NBIADataRetriever-4.4.2.x86_64.rpm
sudo yum -y install NBIADataRetriever-4.4.3-1.x86_64.rpm
DEB (tested on Ubuntu 2024 LTS)
To run this file, type the following at the command prompt (only run the first command if you need to uninstall a previous version).
sudo -S dpkg -r nbia-data-retriever-4.4.2.deb
sudo -S dpkg -i nbia-data-retriever-4.4.3-1.deb
Installing the NBIA Data Retriever
To install the NBIA Data Retriever on Windows
- Download the installer package for Windows using the Windows link in the panel above.
- Save the installer package file to your computer.
- Install the app by double-clicking the installer package file.
- Agree to the terms in the License Agreement and click Install.
- When the Setup Wizard ends, click Finish.
To install the NBIA Data Retriever on Mac
The Mac version of the NBIA Data Retriever is only available through the iOS App Store. It requires a manifest file to work. You can download the app first or create a manifest file first. If you download the app first, right-click the manifest file and select Open With Downloader App. If you create a manifest file first, right-click it and select Open With App Store. This installs the app and then opens the manifest file in the app.
On your Mac, find the NBIA Data Retriever on the Mac App Store.
The NBIA Data Retriever is a free app but still requires you to log in to download it. Consider changing your iOS Password Settings so that you can download free software without having to log in separately for it.
- Click Get, then click Install App. The NBIA Data Retriever is free.
The app starts downloading to your Mac. When the download is complete, you can open a manifest file with the NBIA Data Retriever.
To install the NBIA Data Retriever on Linux (centOS or Ubuntu)
To install the NBIA Data Retriever for all users, you must have the sudo privilege on your computer and a sudo password to install the NBIA Data Retriever on CentOS and Ubuntu.
If you do not use sudo, you can install the app locally by extracting the .deb or .rpm file to a directory where you have execute permissions and then running the app with a manifest file.
- Download the installer package for centOS or Ubuntu using the RPM and DEB links in the panel above.
- Save the installer package file to your computer.
- Open a command window and go to the location where you saved the installer.
Downloading Images Using the NBIA Data Retriever
- Add data to the cart and then download a manifest file of all of the data in your cart.
- Add data to the cart and then download a manifest file of only selected subjects and/or series.
- Download all of the data in the current query immediately. When you download the query, the results are the same as downloading your full cart.
TCIA provides your download in the form of a manifest file (manifest-xxx.tcia). You must install the NBIA Data Retriever to open this manifest file and download the data. You can access the latest version of the NBIA Data Retriever by selecting Download > Get NBIA Data Retriever.
You can share the manifest file with collaborators so that they can download the same images that you have selected by sharing your cart or sharing your query. Collaborators must also have the NBIA Data Retriever to open the manifest file you share.
If you want to share a manifest file that includes links to private image collections, you must first manually install the latest NBIA Data Retriever. The NBIA Data Retriever controls access to private collections. Your collaborators must have the same access to the private collections in the manifest as you do. Otherwise, your collaborators will not be able to download images from those collections.
Downloading the Cart
You can download a manifest file of the full cart or a partial cart representing your selected subjects and/or series. You may want to do this, for example, if you are building a complex dataset by selectively adding scans to your cart from one or more queries.
Once you download the manifest file, you would then open it in the NBIA Data Retriever to download the data to your computer.
- Search for images of interest.
- Add those images to your cart. You can add all images or select subjects and/or series of interest.
- Click the cart icon in the top-right of the page
 .
.
The cart contents appear.
To download the full cart without selecting specific series, select Download > Download Cart.

or
To download only your selected subjects and series, click .
.Another option is to export the cart as a spreadsheet.
A manifest file including all of the contents of your cart downloads to your browser. Proceed to opening the manifest file and downloading the data.
Downloading the Query
After you have constructed a query by selecting options in the TCIA Radiologic Data Portal, you do not have to go to the cart at all to download it. You can download your query's results immediately. Just as with the cart, the data downloads in the form of a manifest file that you can open with the NBIA Data Retriever. This option is useful and efficient for downloading a lot of data.
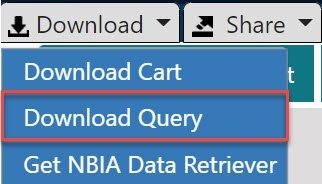
To download your query, do the following.
- Search for images of interest.
- Select Download > Download Query.
A manifest file including all of the contents of your cart downloads to your browser. Proceed to opening the manifest file and downloading the data.
Opening the Manifest File and Downloading the Data
Once you have a manifest file, you need to download and install the NBIA Data Retriever, which is available for Windows, Mac, and Linux. You can get this app by selecting Download > Get NBIA Data Retriever.
Opening the
manifest-xxx.tciafile will launch the NBIA Data Retriever. If you're working in a Linux environment, you can also launch the NBIA Data Retriever from the command line.
The Data Usage Policy notification appears.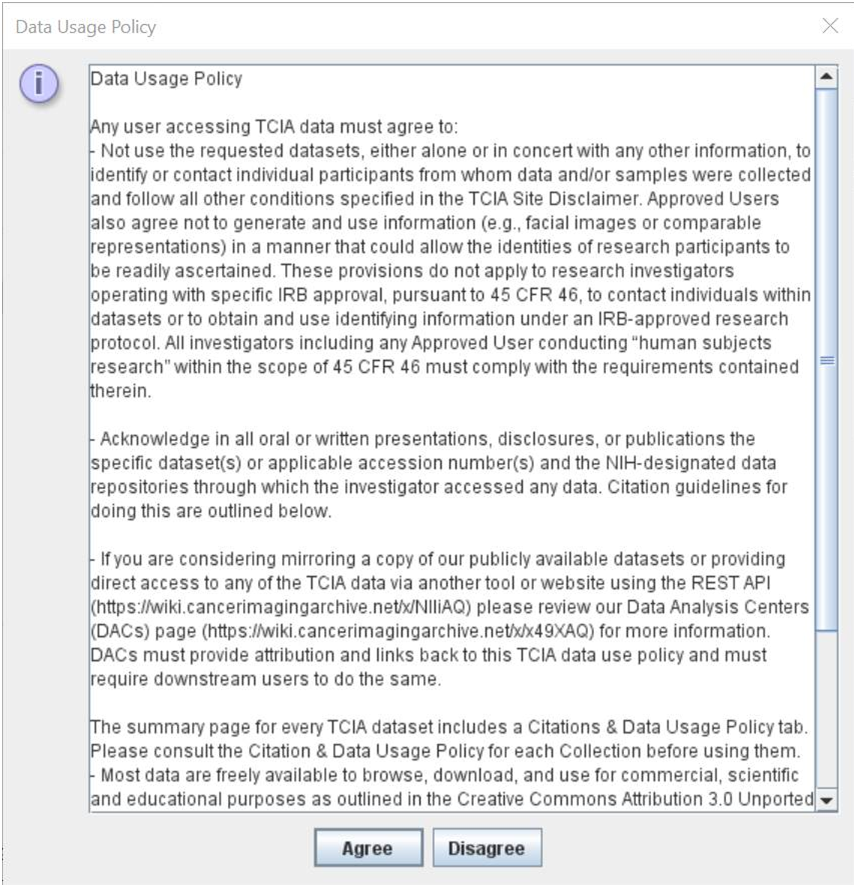
Click Agree. You must agree to the data usage policy before you can proceed with downloading the data in your cart. Note that this policy is included in the license file accompanying your download.
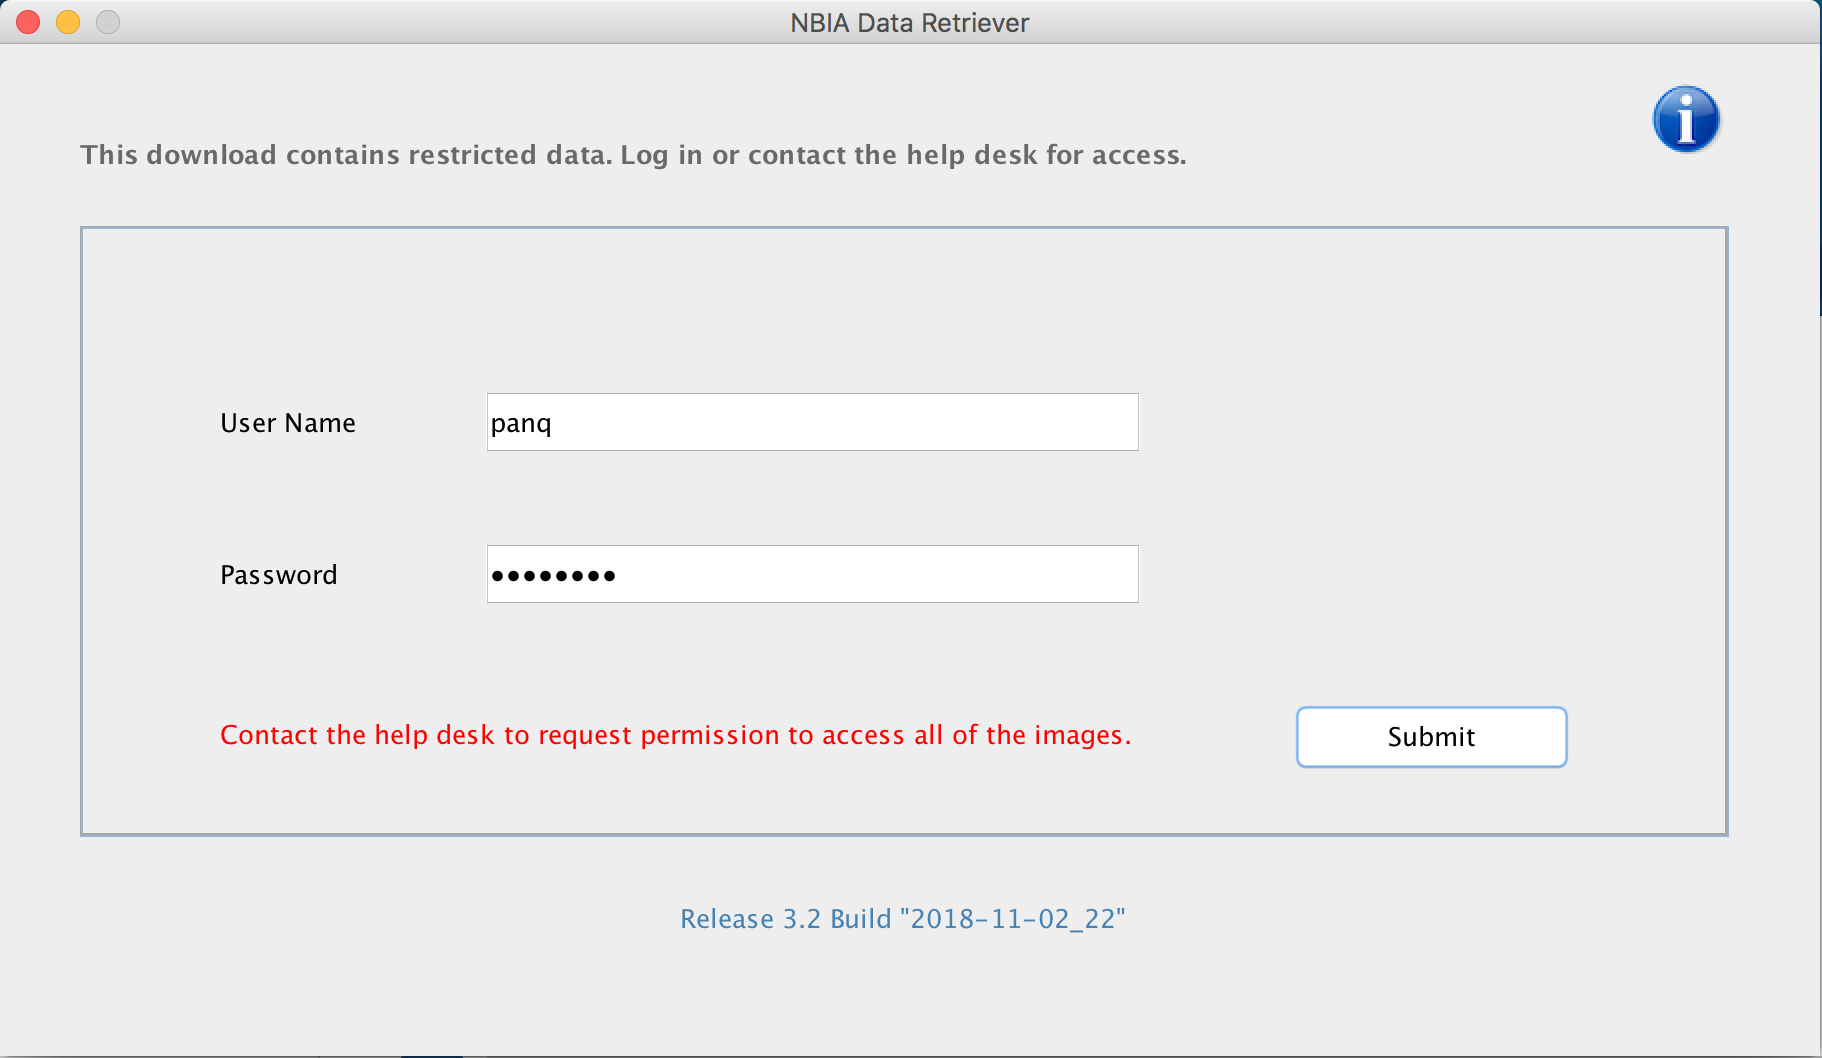
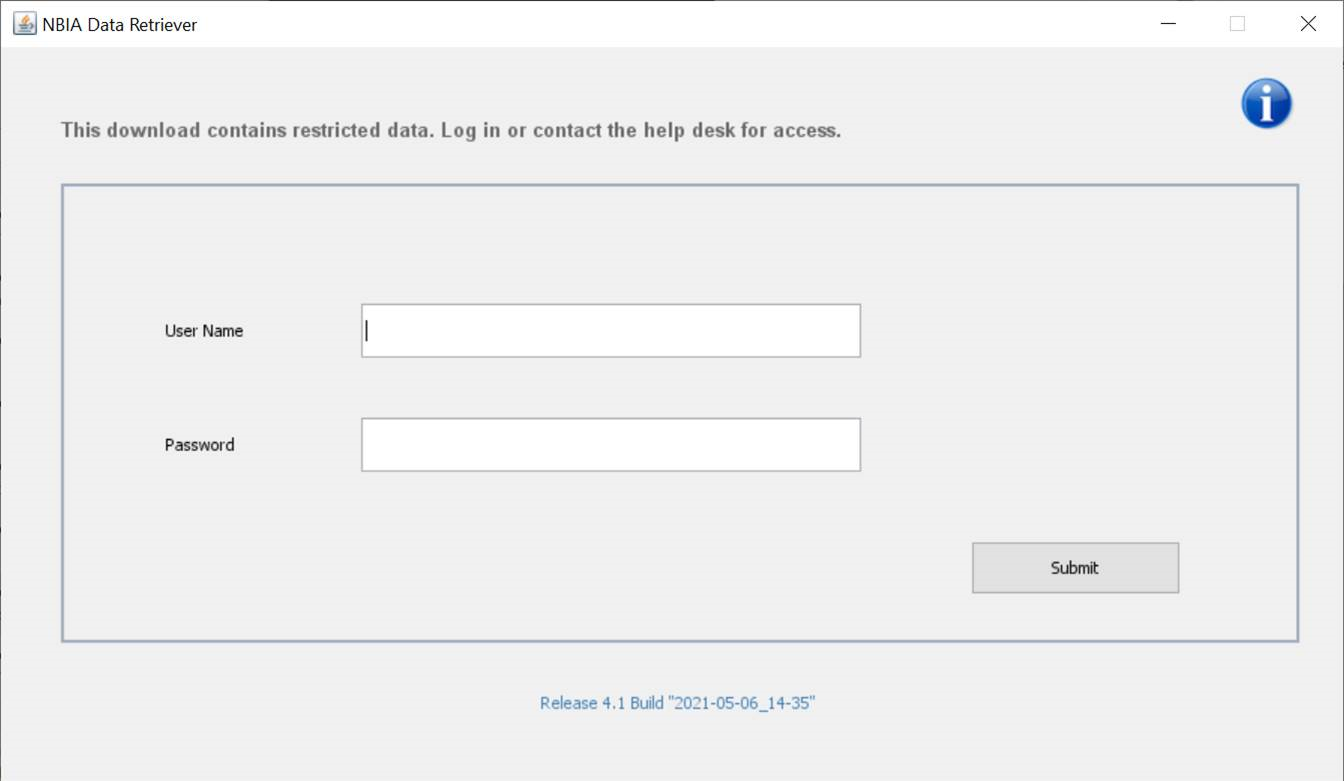
If you have added limited-access series to your cart, the NBIA Data Retriever login window appears. Enter your user name and password and click Submit.
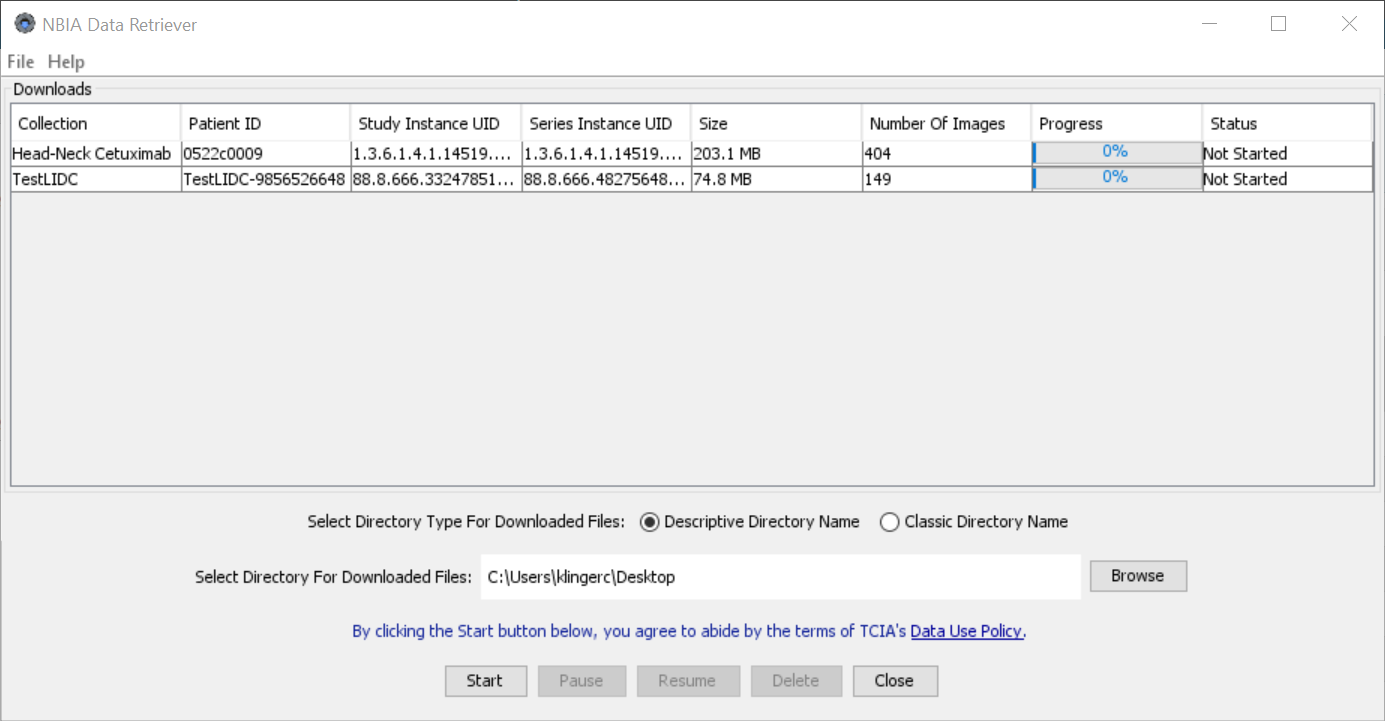
If all of the series you have added to your cart are public, the NBIA Data Retriever appears, showing the items you added to your cart in the Downloads table.
Notes:
- To verify the integrity of the download, select File > Checksum Verification prior to clicking Start. This calculates the checksum value of files you are downloading, comparing it with the same data in the database. If a mismatch is detected, an error message will appear, and you can also click the three dots in the Status column for more information. If you do not select Checksum Verification, the NBIA Data Retriever will still verify the download by comparing the file size of the series you are downloading against the database.
If there are series in your download that have commercial use restrictions, the NBIA Data Retriever displays a message referring you to the license information for these series.
You can hover your mouse over the Patient ID, Study Instance, and Series Instance columns to reveal the complete corresponding IDs. You can also resize a column by selecting and dragging the column border.
- If you do not want to download any of those items, select them in the Downloads table and then click Delete. When you remove an item from the Downloads table, it stays in your cart in the Radiology Portal.
If you close the NBIA Data Retriever in the middle of a download, NBIA Data Retriever remembers the partial download. When you restart the NBIA Data Retriever, choosing the same download directory as before, and click Start, you are prompted to specify whether you want to download just the missing series or download all of the series in the original manifest file.

If you choose Download all, the existing download folder will be overwritten with all of the series in the original manifest file. If you choose Download missing series, only those series you have not previously downloaded appear in the Downloads table in the NBIA Data Retriever window, then download only those series.
NBIA Data Retriever File Naming System
The file naming system used by the NBIA Data Retriever provides a natural ordering of the files within each series. The DICOM files are first ordered by ordinal position of acquisition number and then by ordinal position of instance number. The files are then assigned numbers with the lowest acquisition being 1 and the lowest instance number within that acquisition being 1, separated by a dash. The numbers are incremented by 1 as the next values are encountered. All values are left-padded with zeros to provide for the ordering within the file system.
As an example, a series with two acquisition numbers, with each acquisition having 42 instance numbers, would start with 1-01.dcm for the lowest acquisition number and the lowest instance number in that acquisition. The last file in that acquisition would be 1-42.dcm. Then the second acquisition would start with 2-01.dcm and end with 2-42.dcm. For the purposes of ordering, an empty value in either acquisition number or instance number is lower than an file having a value for those numbers.
- Select how to organize the downloaded files.
- The Descriptive Directory Name organizes the files in a child folder under the destination folder as follows: Collection Name > Patient ID > Study Date + Study ID + Study Description (54 char max) + last 5 digits of Study Instance UID > Series Number + Series Description (54 char max) + last 5 digits of Series Instance UID
- The Classic Directory Name organizes the files in a child folder under the destination folder as follows: Collection Name > Patient ID > Study Instance UID > Series Instance UID
- Click Browse to navigate to the destination folder.
- Click Start to begin the download. You can monitor the status of the full download in the progress bar on top, and for each collection in the Progress column. The Status column indicates when the download for each item is complete.
At any point in the process, you can click the Pause and Resume buttons to temporarily stop and restart the process.
Network Error?
If network errors occur during large downloads, the NBIA Data Retriever retries downloading the series in the manifest file the number of times that your administrator has configured. The default is four times.
After the automatic retries, you have the option of retrying just the failed series, saving an error report, which you can share with the TCIA help desk, and exiting.

Downloading Private Data
If you are downloading any private data, you are prompted to log in.
Once you log in, the NBIA Data Retriever appears.
If you do not have permission to access even one of the collections/sites to which the images you have in your manifest file, you are prompted to contact the TCIA help desk to request permission to access all of the images.