Topics on this page describe how to search the local and remote image databases for images.
You can print and export wiki pages.
Topics in this chapter include:
What's New
Introduction to the TCIA Data Portal
TCIA Data Portal enables you to search for images in the local TCIA in vivo image repository. If available, you can also search remote imaging archives.
TCIA submissions are organized in the following hierarchy, which is important to remember in creating your search query and reviewing search results:
Collection > Patient (Subject) > Study > Series > Images |
|---|
In other words, a Collection is the largest organizing concept within TCIA and it includes data about Patients (also called Subjects). As you continue to drill down to more granular concepts, Patients contain Studies, Studies contain (Image) Series, and Series contain individual Images.
Browser Support
TCIA supports the latest versions of Google Chrome and Mozilla Firefox browsers.
Searching for Image Studies
Accessing Limited-Access Collections
You can search and download public data without logging in to the TCIA Data Portal. To access restricted data, however, you must log in first to see that data in your search results. Consult the TCIA Collections page to learn which collections have limited access.
- In the top menu bar, click
 .
.
The Login window appears.
- Enter your user name and password, then click Log In.
Performing a Simple Search
Performing a Text Search
Viewing Subject Details
Viewing Thumbnails of the Image Series
Viewing DICOM Data
Digital Imaging and Communications in Medicine (DICOM) is a standard for handling, storing, printing, and transmitting information in medical imaging.
You can view the DICOM tags that form the header of the selected image series.
To view DICOM data
- View the details for a subject.
- Select a study and view its details.
- In the row for an image series, click
 .
.
The DICOM tags associated with the image series appear.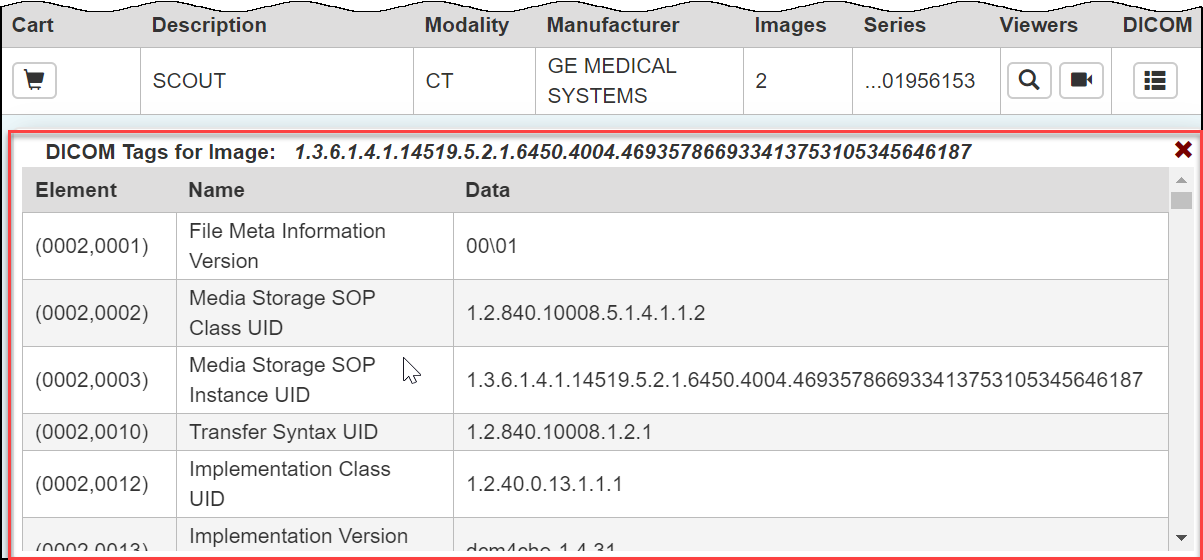
Viewing TCIA Collections
Downloading Study Data
You can download items you add during the current work session. Before you download items you must download and then install the NBIA Data Retriever.
You select items to download by first searching for them in TCIA and then adding them to your cart.
You can also export data in your cart to a spreadsheet.
Adding Data to the Cart
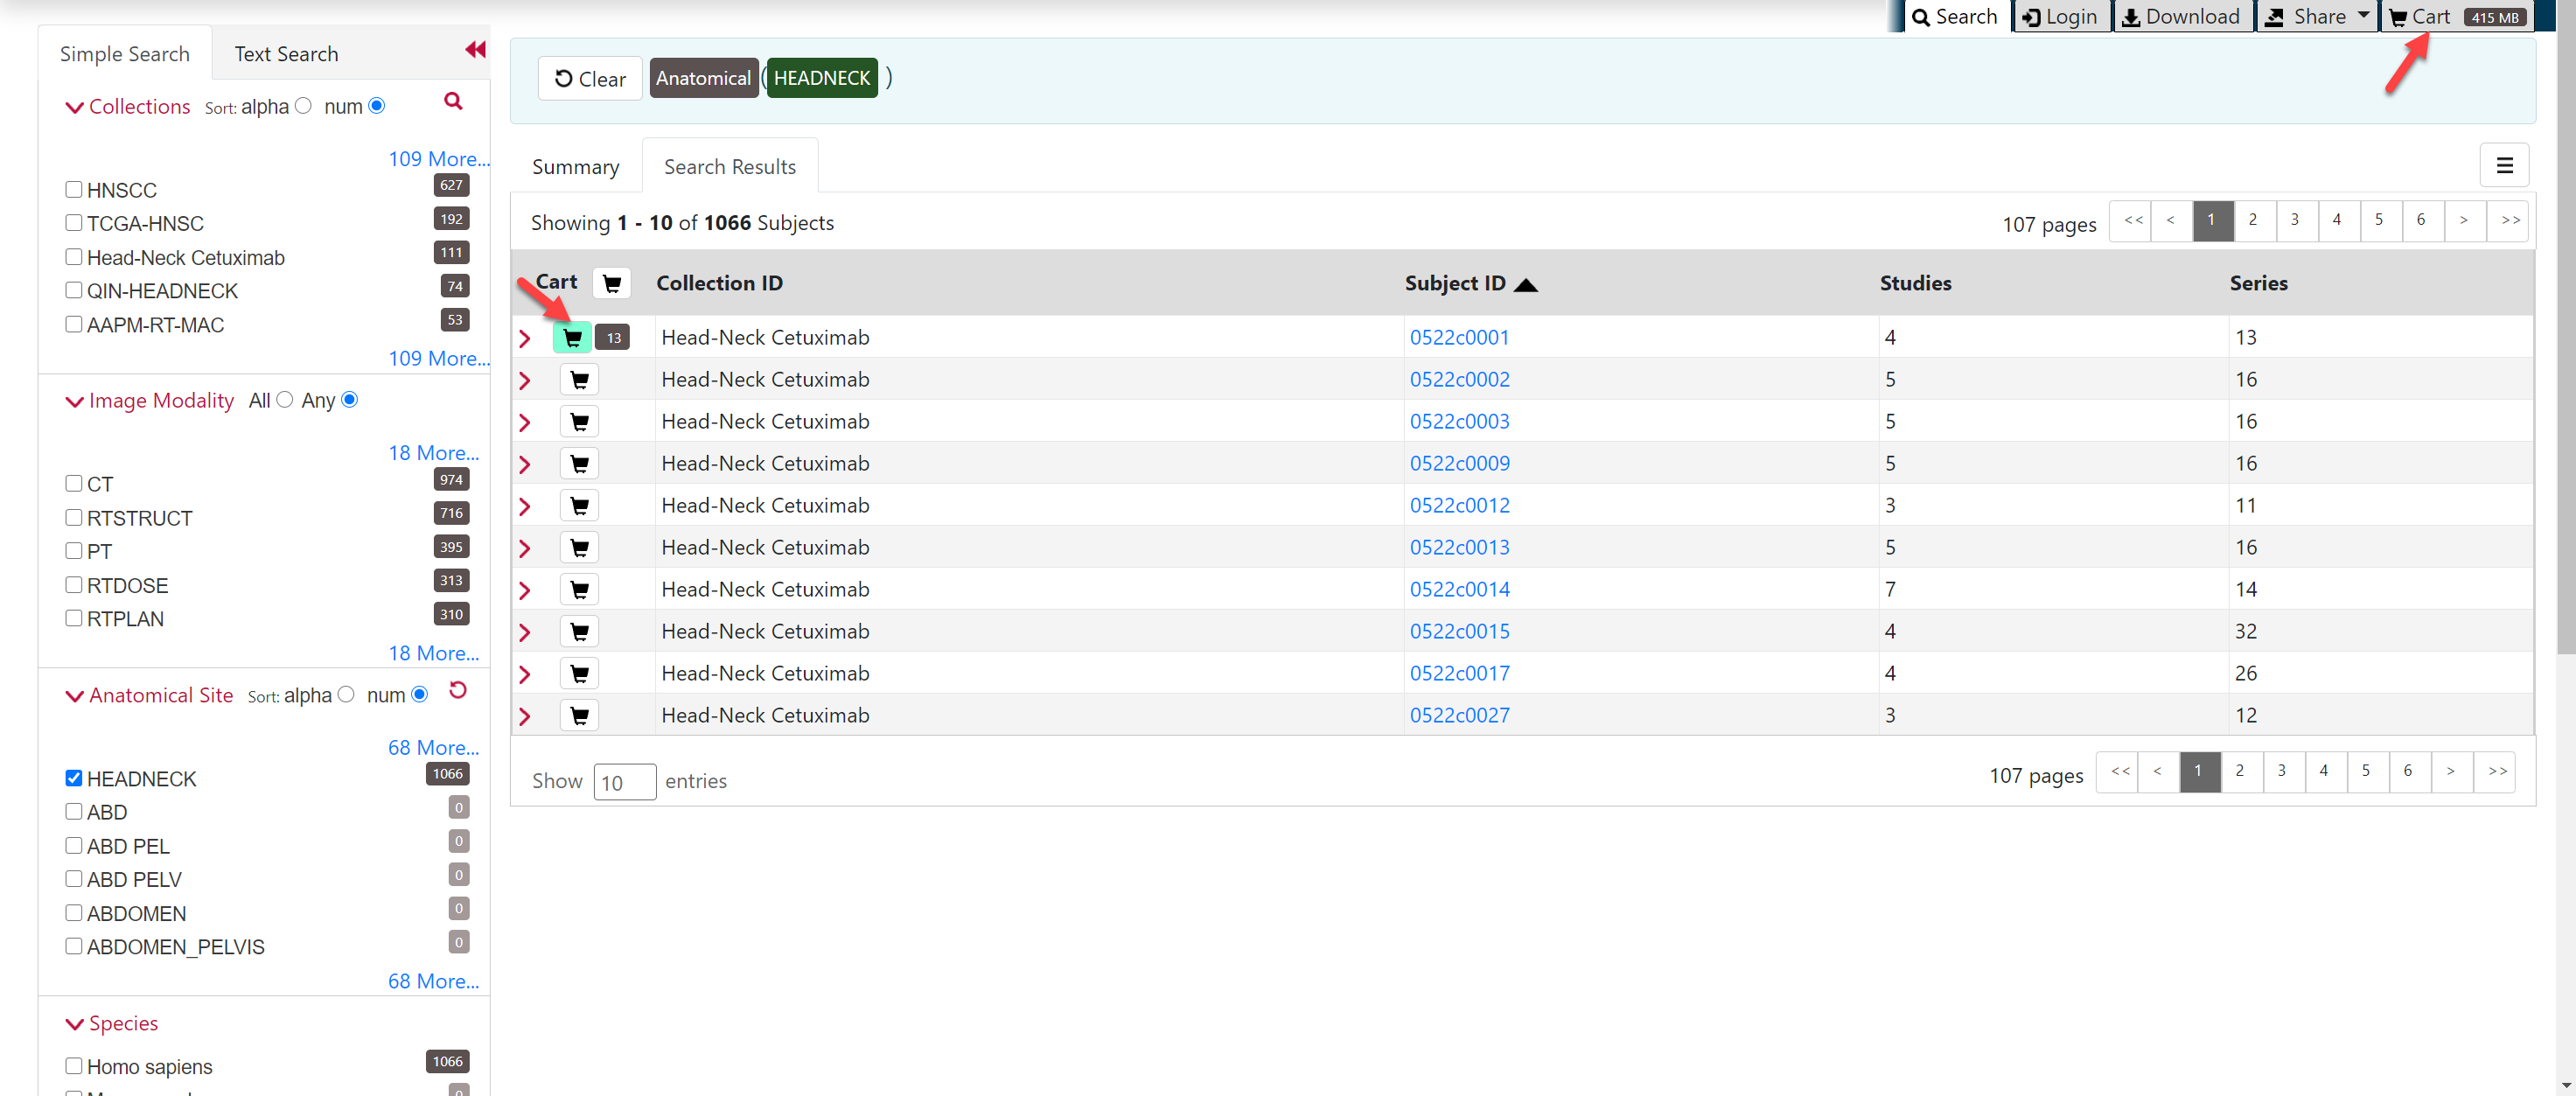
To add all subjects to the cart
- Search for the subject.
- Click the Search Results tab.
Click the subject cart icon in the row of one or more subjects. This selects all studies associated with each subject.
The cart icon turns green and the number of image series now in your cart appears next to the cart. The cart itself, in the upper-right of the window, shows how large the download will be.To remove all of the data associated with this subject from the cart, click the cart icon again.
To add selected studies to the cart
- Search for the subject.
- Click the Search Results tab.
- Click a Subject ID link or click the arrow to the left of the subject cart to open all series associated with that subject.
- Click the cart icon for one or more series.
- The study cart icons you select turn green.
- The subject cart icon for the subject turns yellow, indicating that you have not selected all available studies for this subject.

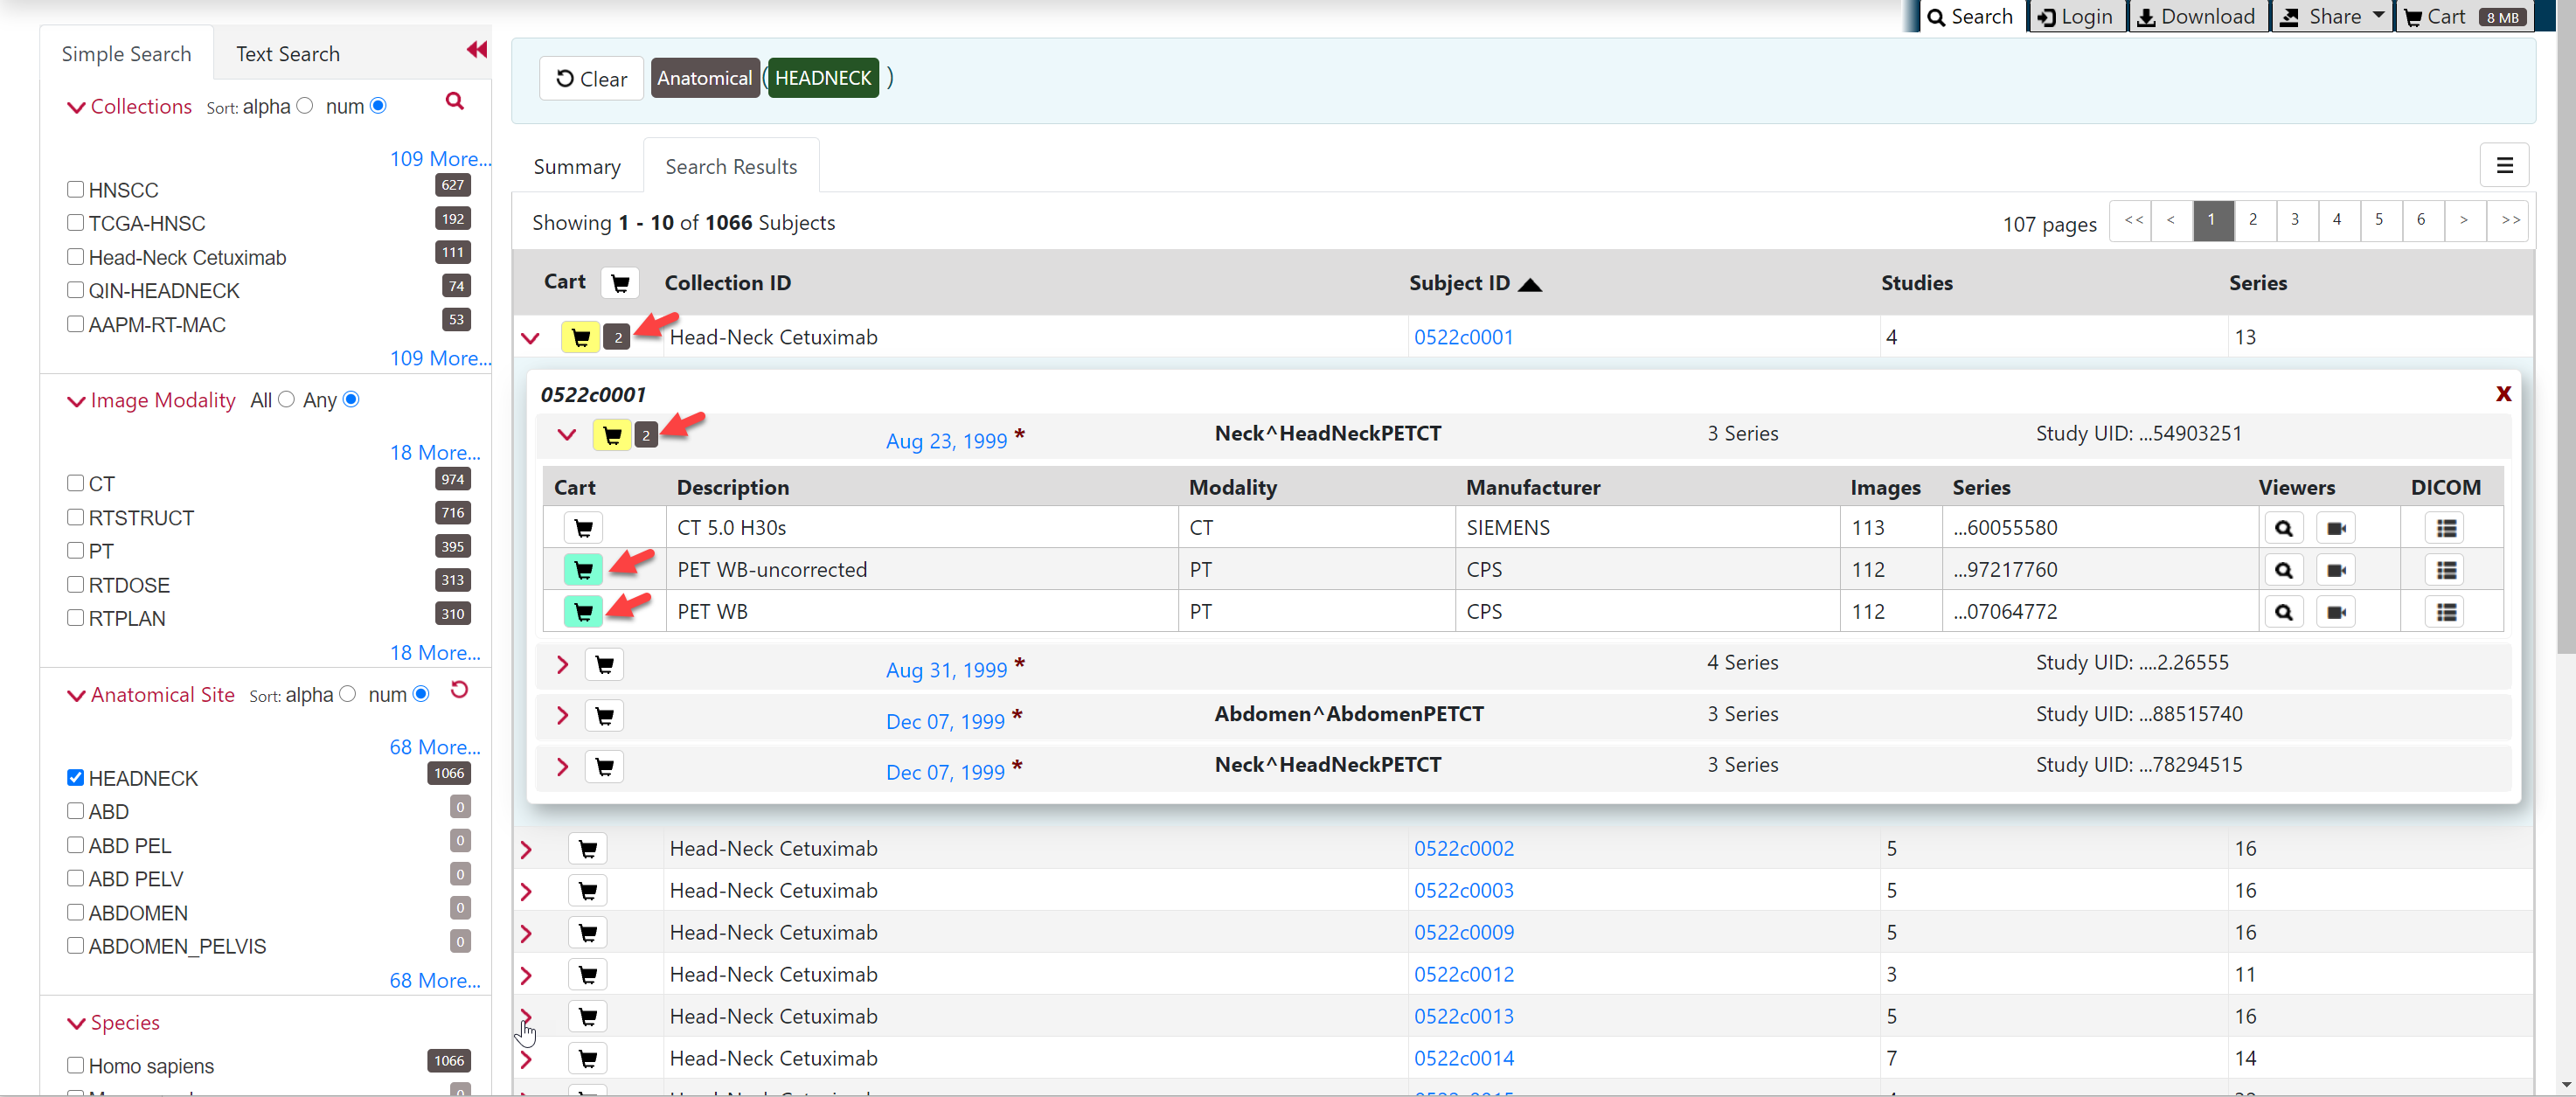
To add selected series to the cart
- Search for the subject.
- Click the Search Results tab.
- Click a Subject ID link or click the arrow to the left of the subject cart to open all series associated with that subject.
- Click a study date link or click the arrow to the left of the study cart to open all the series associated with that study.
- Click the cart icon for one or more series.
- The series cart icons you select turn green.
- The study cart icon for the subject turns yellow, indicating that you have not selected all available series for this study.
- The subject cart icon for the subject turns yellow, indicating that you have not selected all available studies and series for this subject.
Downloading the NBIA Data Retriever
Installing the NBIA Data Retriever
To install the NBIA Data Retriever on Windows
- Download the installer package for Windows using the Windows link above.
- Save the installer package file to your computer.
- Install the app by double-clicking the installer package file.
- Agree to the terms in the License Agreement and click Install.
- When the Setup Wizard ends, click Finish.
To install the NBIA Data Retriever on Mac
The Mac version of the NBIA Data Retriever is only available through the iOS App Store. It requires a manifest file to work. You can download the app first or create a manifest file first. If you download the app first, right-click the manifest file and select Open With Downloader App. If you create a manifest file first, right-click it and select Open With App Store. This installs the app and then opens the manifest file in the app.
On your Mac, find the NBIA Data Retriever on the Mac App Store.
The NBIA Data Retriever is free but still requires you to log in to download it. Consider changing your iOS Password Settings so that you can download free software without having to log in separately for it.
- Click Get, then click Install App. The NBIA Data Retriever is free.
The app starts downloading to your Mac. When the download is complete, you can open a manifest file with the NBIA Data Retriever.
To install the NBIA Data Retriever on Linux (centOS or Ubuntu)
You must have the sudo privilege on your computer and a sudo password to install the NBIA Data Retriever on CentOS and Ubuntu.
- Download the installer package for centOS or Ubuntu using the links above.
- Save the installer package file to your computer.
- Open a command window and go to the location where you saved the installer.
Downloading Images Using the NBIA Data Retriever
Exporting the Cart to a Spreadsheet
Once data is in your cart, you can export it to a Comma-Delimited Values format spreadsheet for analysis or sharing with others.
To export your cart
- Add data to your cart.
- Click
 .
.
The cart appears.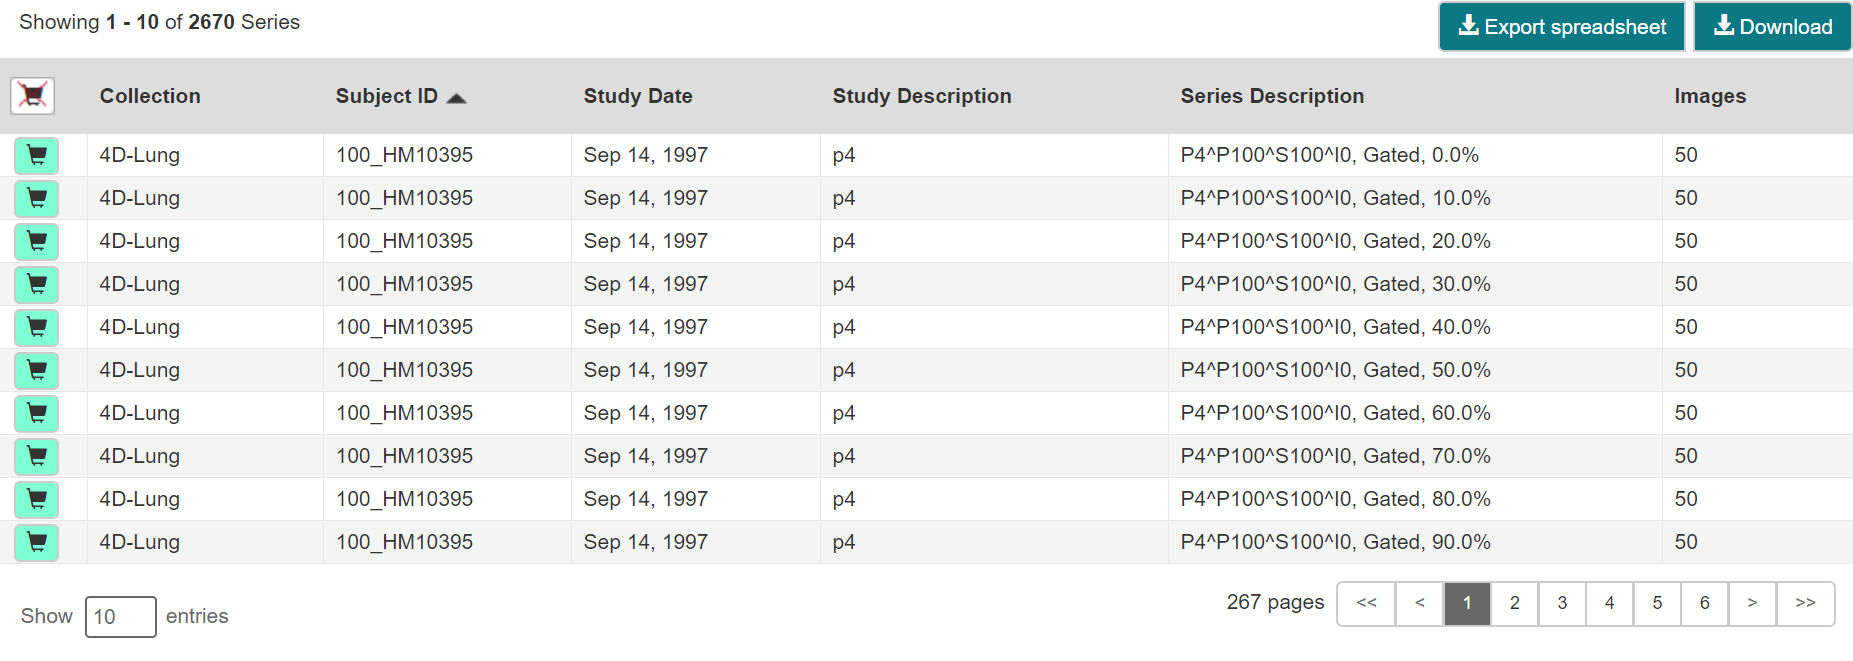
- Click
 .
.
A CSV file opens in your browser.
The spreadsheet includes the following columns:- Collection
- 3rd Party Analysis
- Data Description URI
- Subject ID
- Study UID
- Study Description
- Study Date
- Series Description
- Manufacturer
- Modality
- SOP Class Name
- SOP Class UID
- Series UID
- Number of images
- File size
Sharing a Query
You can save your query for later use or share it with a colleague by email.
To share a query
- In the top menu bar, click
 and then select Share my query.
The Query URL box appears.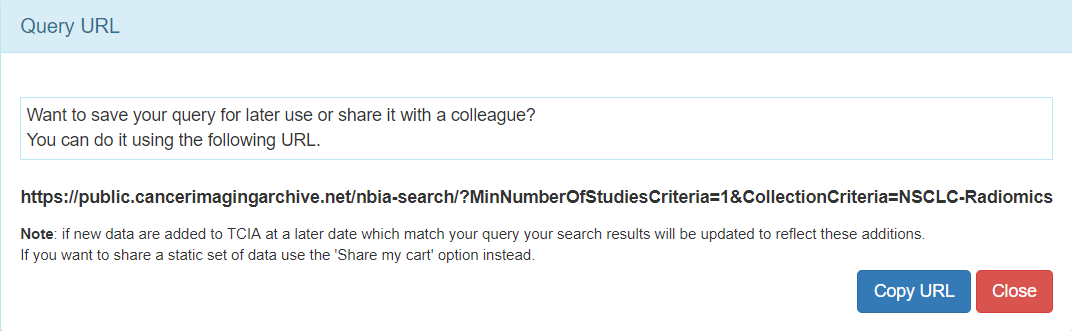
- Click Copy URL.
The URL copies into your Clipboard. Paste the URL into an email or other document.
Shared queries honor data permissions that may exist. Each person that runs the shared query will only see search results that he or she is allowed to see.
Sharing Data in Your Cart
Once you have added data to your cart, you can share it as a URL to a static set of data. When you or a colleague opens the URL in a browser window, the new TCIA Graphical User Interface (GUI) opens to the cart page.
In the legacy TCIA data portal, this was called a shared list. This is a similar concept in the new TCIA GUI.
To share data in your cart
- Add data to your cart.
- In the top menu bar, click and then select Share My Cart.
The Retrieve Cart Data URL box appears.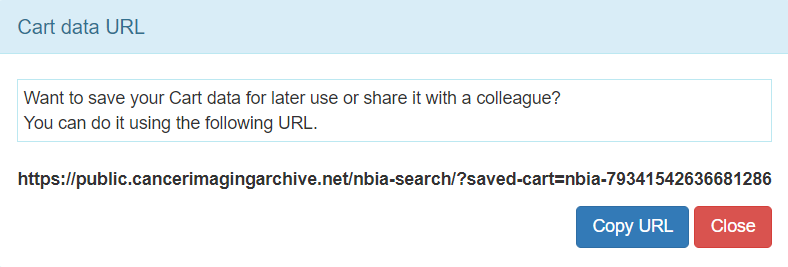
- Click Copy URL.
The URL copies into your Clipboard. - Paste the URL into an email or other document.
The shared cart honors data permissions that may exist. Each person that opens the shared cart will only see data that that person is allowed to see.